Today I’d
like You to try Python for Your functional Web tests. Why Python? Because I
believe it’s much easier to start with if we’ll compare with Java or .Net and
also in several cases Python (because it’s scripting language) can do much more
things than even Java (with all cross platform functionality itself).
So let’s do
everything from the scratch. Next screens and instructions are for Windows
users because I’m sure that install and run Python on OSX or Linux is much easier
and doesn’t need any specific explanations.
1. Install
Python.
For this we’re going to https://www.python.org/downloads/ and download needed package.


As You can
see that we’re able to download Windows installer and install Python without
any problems – I did it in default directory, also have to underline that I’ll
use Python 3.4.2 for this example.

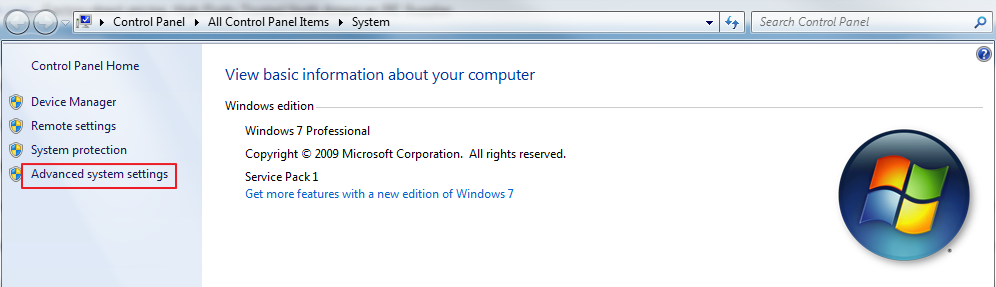
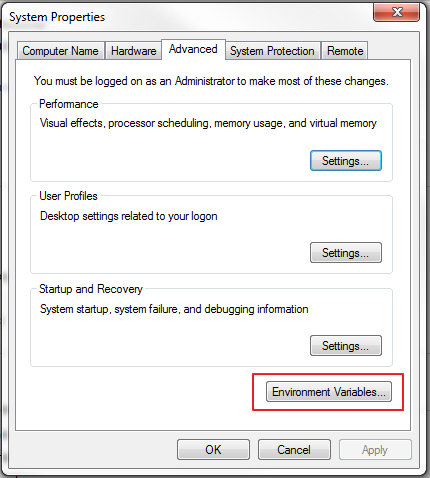
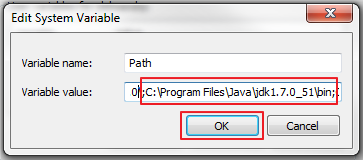
After
installation we’ll need to create local variable PYTHON_HOME (which is really
not mandatory, but will be useful) and check if Python added to the main Path.
For that just follow screens below one by one.


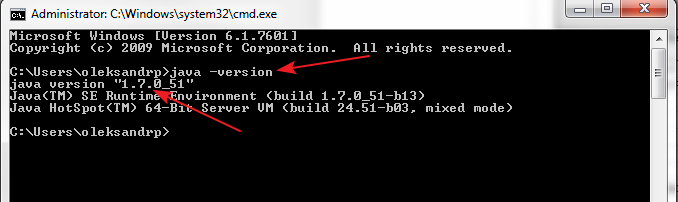
If
everything correct we have to able to see next screen after running command “python
--version” in our command prompt.

And this is
pretty much all for Python installation.
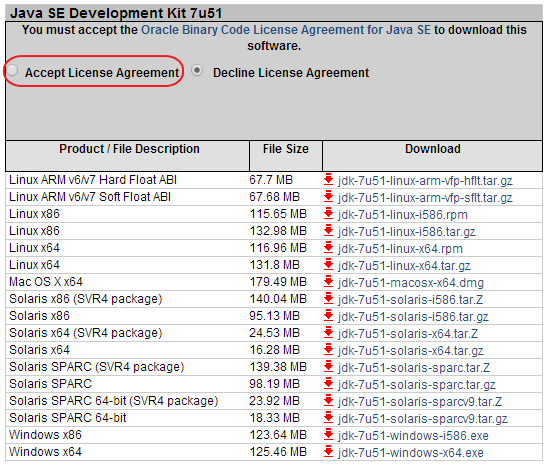
2. Selenium
installation.
Here will
be also pretty much straightforward process with adding Python language
bindings for WebDriver. For Python we don’t need to download different browser
drivers as we did for Java.
First open https://pypi.python.org/pypi/selenium – and download archive with
selenium (see screen below). After downloading extract somewhere on the disk.
Next go to Your Python folder e.g. “C:\Python34” and run command (in command
line prompt) – “pip install –U selenium”.


One more
step – we have to ensure that “selenium” is also in the path variable (scree
below).

We’re
almost ready, actually we’re ready for writing and running scripts in Python.
As I mentioned before Python scripting language so it doesn’t need any specific
IDE or anything like that – we can use simple notepad for testing. But for
future convenience I’d recommend You install PyCharm from JetBrains.
3.
Installing PyCharm
I believe
one really easy step – go to https://www.jetbrains.com/pycharm/download/ and download community edition,
which totally free and provides all necessary functionality. For those who use
IntelliJ Idea already – You just need to add Python language plugin and then
create new Python project (also pretty simple)

After
downloading and installing PyCharm we’re all set, so we have just one more step
– actual test writing and running.
4. Writing
and running first test.
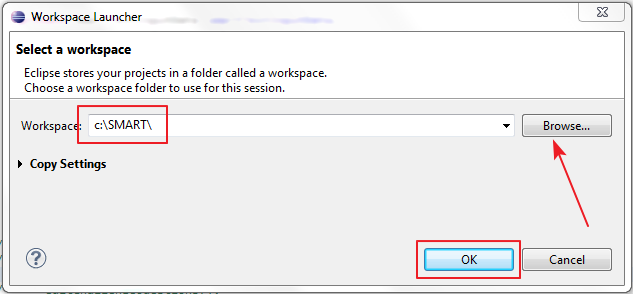
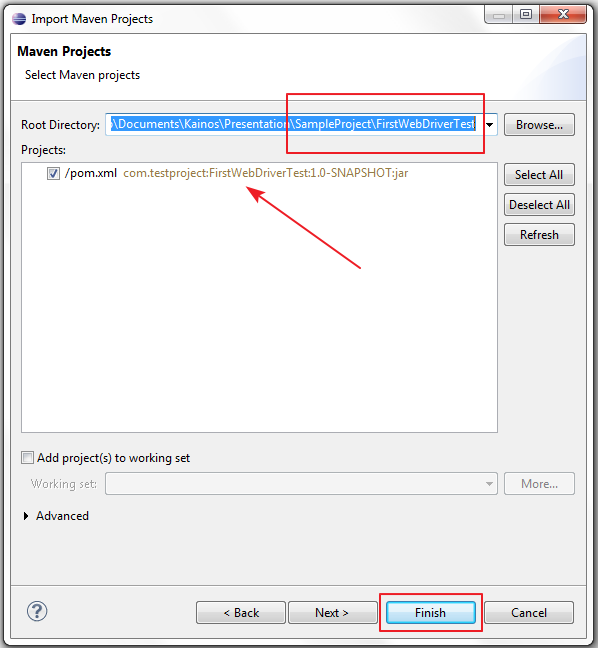
On first two screens we’re creating new project
in PyCharm – pretty straight forward process.


Then we
have to check our settings for ensure our PyCharm will use needed Python
interpreter. So go : “File > Settings > Project interpreter” or press “Ctrl
+ Alt + S” and make sure that correct Python distributive selected also there
should be “selenium” in the list of packages (see screen below).

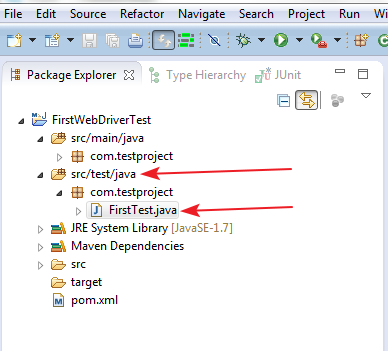
Last step –
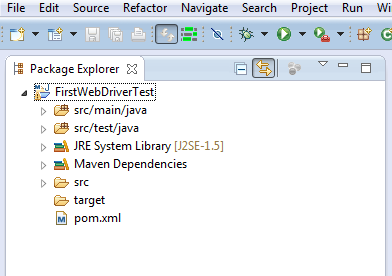
create a “test” package in project root directory and then Python file – e.g. “FirstWebDriverTest.py”.
Our test
will do several simple steps:
- Open
browser (for this example I’ll use Chrome, but You can easily change that).
- Navigate
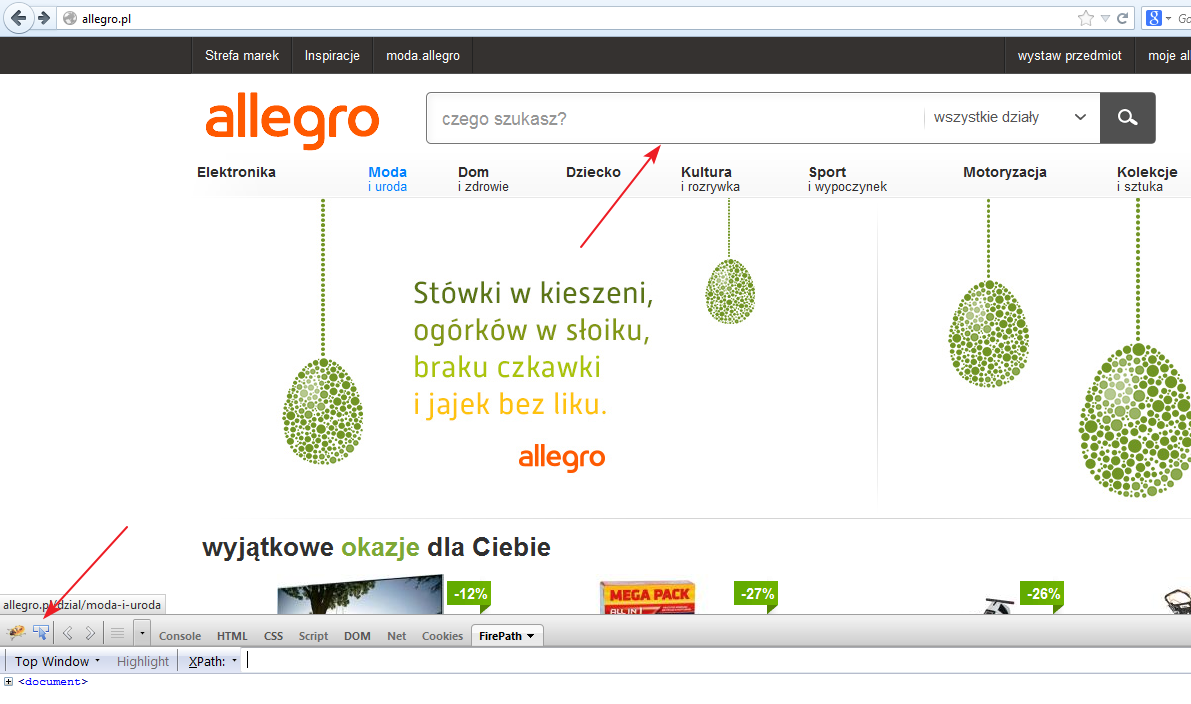
to http://www.allegro.pl.
- Type
in search box “Laptop”.
- Press
“Search” button.
- Verify
that first item from results list has “Laptop” in it’s title.

For Your
convenience I’ll paste whole code below:
import unittest
from selenium import webdriver
class FirstWebDriverTest(unittest.TestCase):
def setUp(self):
self.driver = webdriver.Chrome()
self.driver.get("http://www.allegro.pl")
self.SEARCH_TEXT = "Laptop"
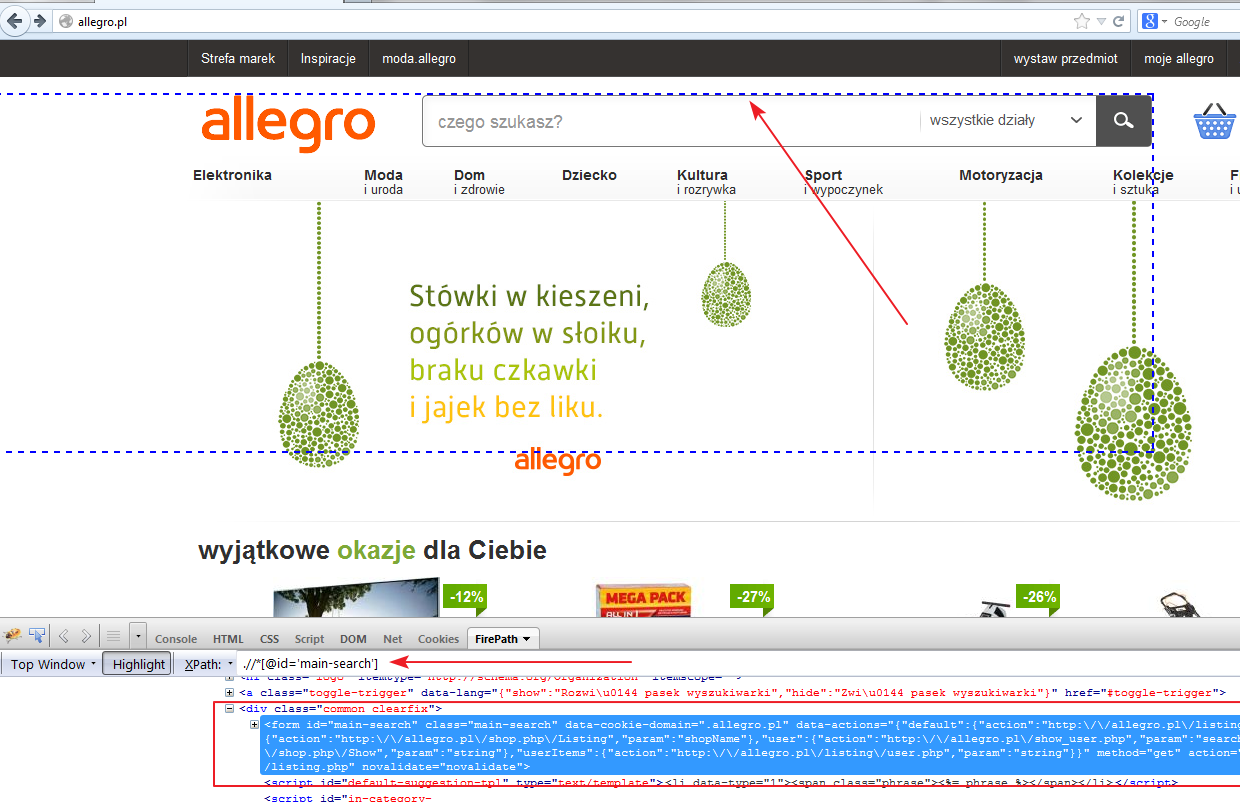
self.SEARCH_FIELD_ID = "//input[@id='main-search-text']"
self.SEARCH_BUTTON_ID = "//input[@class='search-btn']"
self.SEARCH_RESULT_ITEM_TITLE = "//article[@class='offer offer-brand']//h2//span"
def test_search_in_allegro_pl(self):
driver = self.driver
driver.find_element_by_xpath(self.SEARCH_FIELD_ID)\
.send_keys(self.SEARCH_TEXT)
search_button = driver.find_element_by_xpath(self.SEARCH_BUTTON_ID)
search_button.submit()
driver.implicitly_wait(5000)
result = driver.find_elements_by_xpath(self.SEARCH_RESULT_ITEM_TITLE)\
.__getitem__(0)\
.__getattribute__("text")
self.assertIn(self.SEARCH_TEXT, result)
def tearDown(self):
self.driver.close()
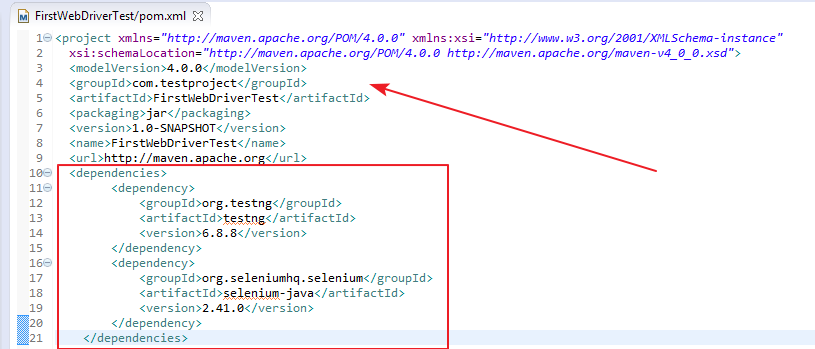
If You’ll
do copy and paste from this page make sure that after inserting code has
original formatting (You can refer to screen above) because for Python it’s
extremely important.
So now we
can run our test – “Run > Run” or “Alt + Shift + F10”
Also You can do it through command prompt line (see
screen below)

Hope this
will be easy for You to start writing tests in Python and You’ll check how
actually powerful this language is. One last thing – for this example with all
downloading and installing steps I’ve spent about one hour (actually I’ve spent
more for doing screens and describing steps :) ).
P.S. added project to repo: https://github.com/operep/Python_Test_Project.git, so now You'll be able simply clone that
P.S. added project to repo: https://github.com/operep/Python_Test_Project.git, so now You'll be able simply clone that