If You ask 100 different testers if they know something about performance testing most of them will say: "Yes!". Probably half of that hundred has some experience with that. But propose them to sit next to the monitor and create a simple performance test from scratch and You'll be surprised.
That's why once again I want to put all stuff together and write simple post about creation performance test with Apache JMeter. So let's start...
1. Download and Installation process.
As usually we'll start from such basics steps. Simply go to: http://jmeter.apache.org/download_jmeter.cgi and according screenshots below download and pack JMeter on Your PC.


After downloading and extracting You have to add JMeter to Your system path (if You don't know how to do that, please refer to one from mine earlier posts). Check if program is available from any folder.

2. Run JMeter & Create first test.
If You simply follow screens below one by one You'll succeed but I'd add some comments where needed.
So first screen You'll see when the program launches.

Here we're creating Thread Group which needed for our future test.

When Group is created select that and make it similar to screen. First parameter defines how many users we'll simulate, second - time period through which we'll make all users active. Scheduler allows us to schedule runs (for now You can leave default value that You'll get) and with last parameter we're telling how much we'll expect the test to be executed (so if test will lasts more then 60 seconds it'll fail).

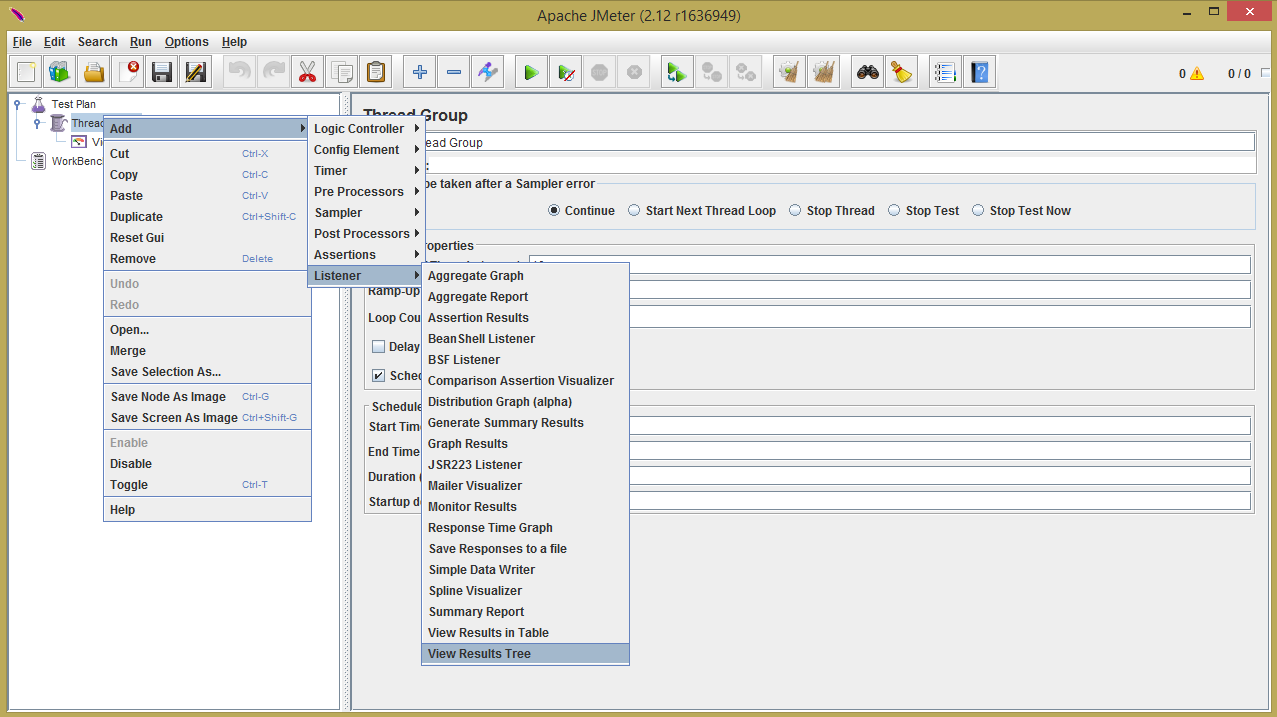
Then we're creating two listeners, we need them to display test results and Recording Controller for recording our test steps.


'Next we'll create HTTP'S Test Script Recorder it'll allow us to run a proxy and record script.

Now we're all set so let's configure and start proxy - please just follow screens below one by one during setup process.

Here we're telling that our browser has to use proxy for internet connection.


Point JMeter to the needed port and press Start and OK under notification message then.


Last step after we've started proxy we have to do is simply manually reproduce our test steps in browser. For this example I'm testing login for gmail, so test steps are the next:
- open gmail login page;
- provide credentials and click login;
- verify that we're in the inbox;
- log out.
Obvious question - "If we have only several steps, why we see so many requests? (see screen below)", the reason why: JMeter records ALL requests during PC - Server communication session.
When we're done with test steps - simply stop recording and manually remove redundant calls - You can check next screen, where I've left only 3 important calls.


Now we need to save our test somewhere and time to run.


Test passed and we can check results with tree listener or table one. I won't describe everything - You can explore results by Your own.


This part for geeks - we can run all our scripts without GUI through console - simply go into folder where our script saved and run the command from screenshot below. Last parameter is file for test results output.

This pretty much it for the first test with Apache JMeter, hope it'll be helpful and at least You won't be scared when it comes to face-to-face meeting with this instrument.
No comments:
Post a Comment